“About a year go, my Mom brought me some of her sourdough starter. At first I made a few things with some of the sourdough discard, but none were true sourdough breads. It took me a bit, but I finally made real, artisan sourdough bread like you’d get out on the wharf with your clam chowder. What a treat to have this fresh-baked at home! One of the great things about this method is that there is no kneading and wondering if you’ve over or under done it. It does take a bit of patience, as there is a lot of sit around and wait moments, but it is well worth it.” – April Ferre
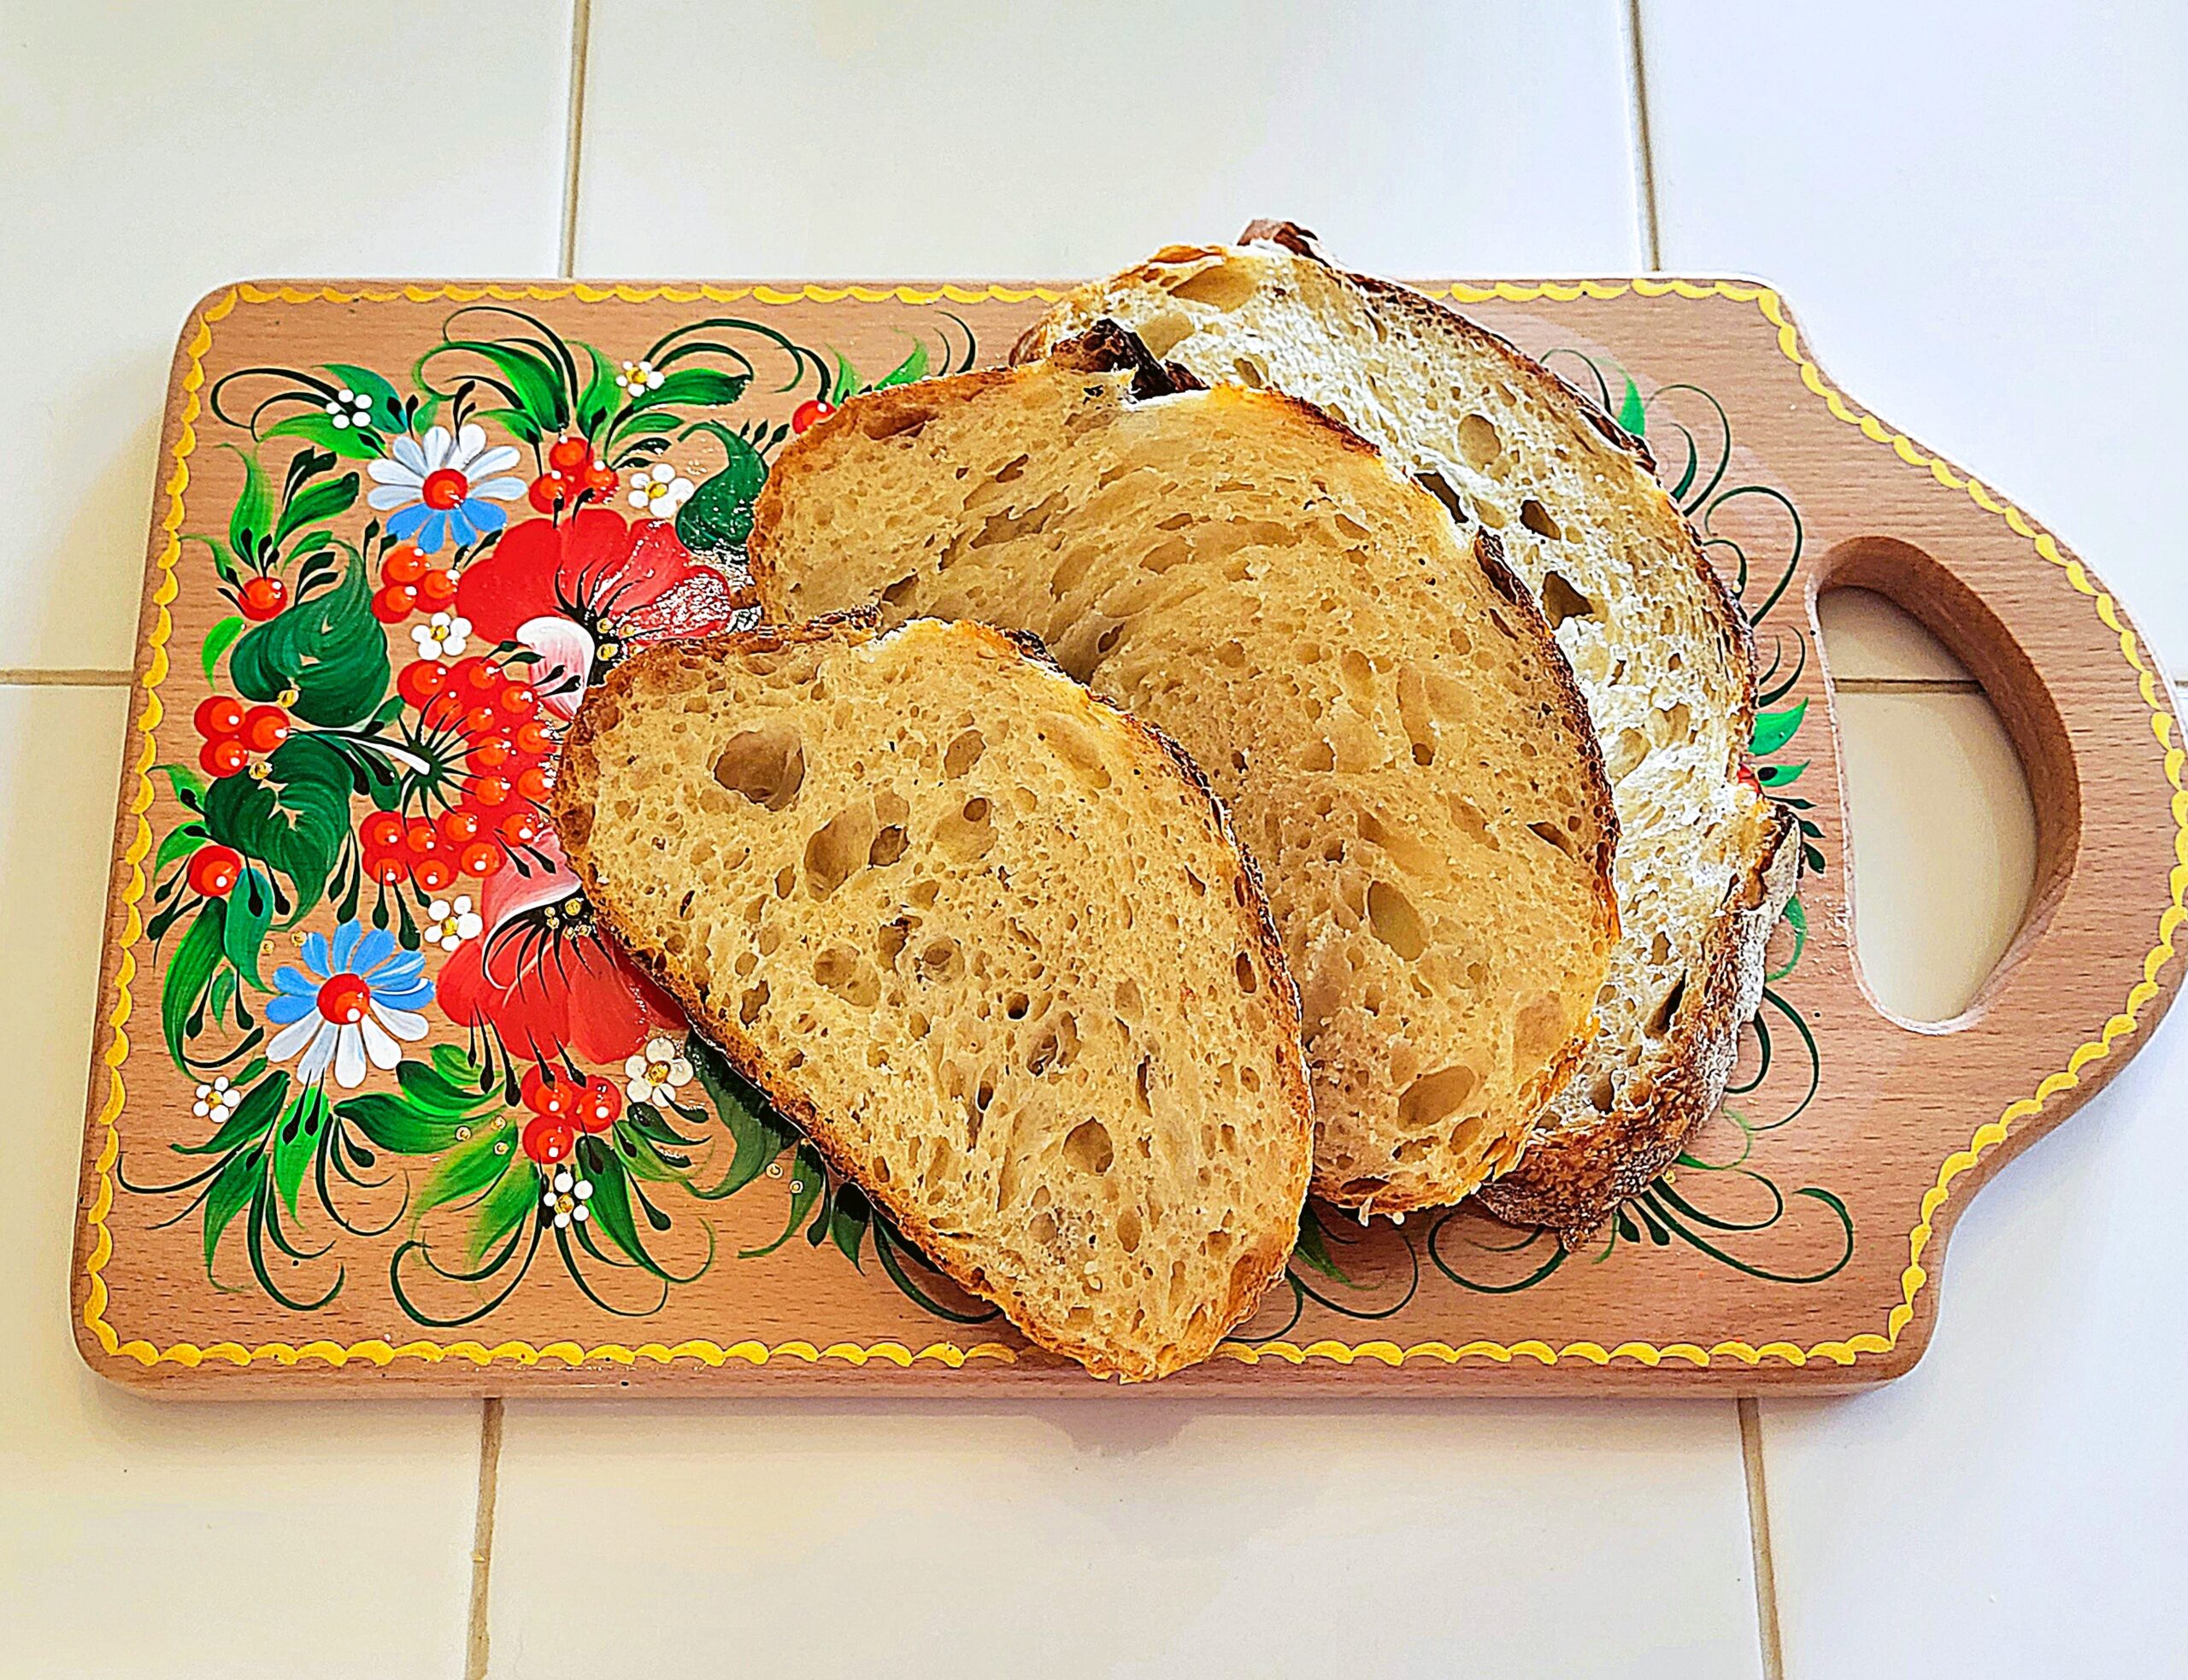
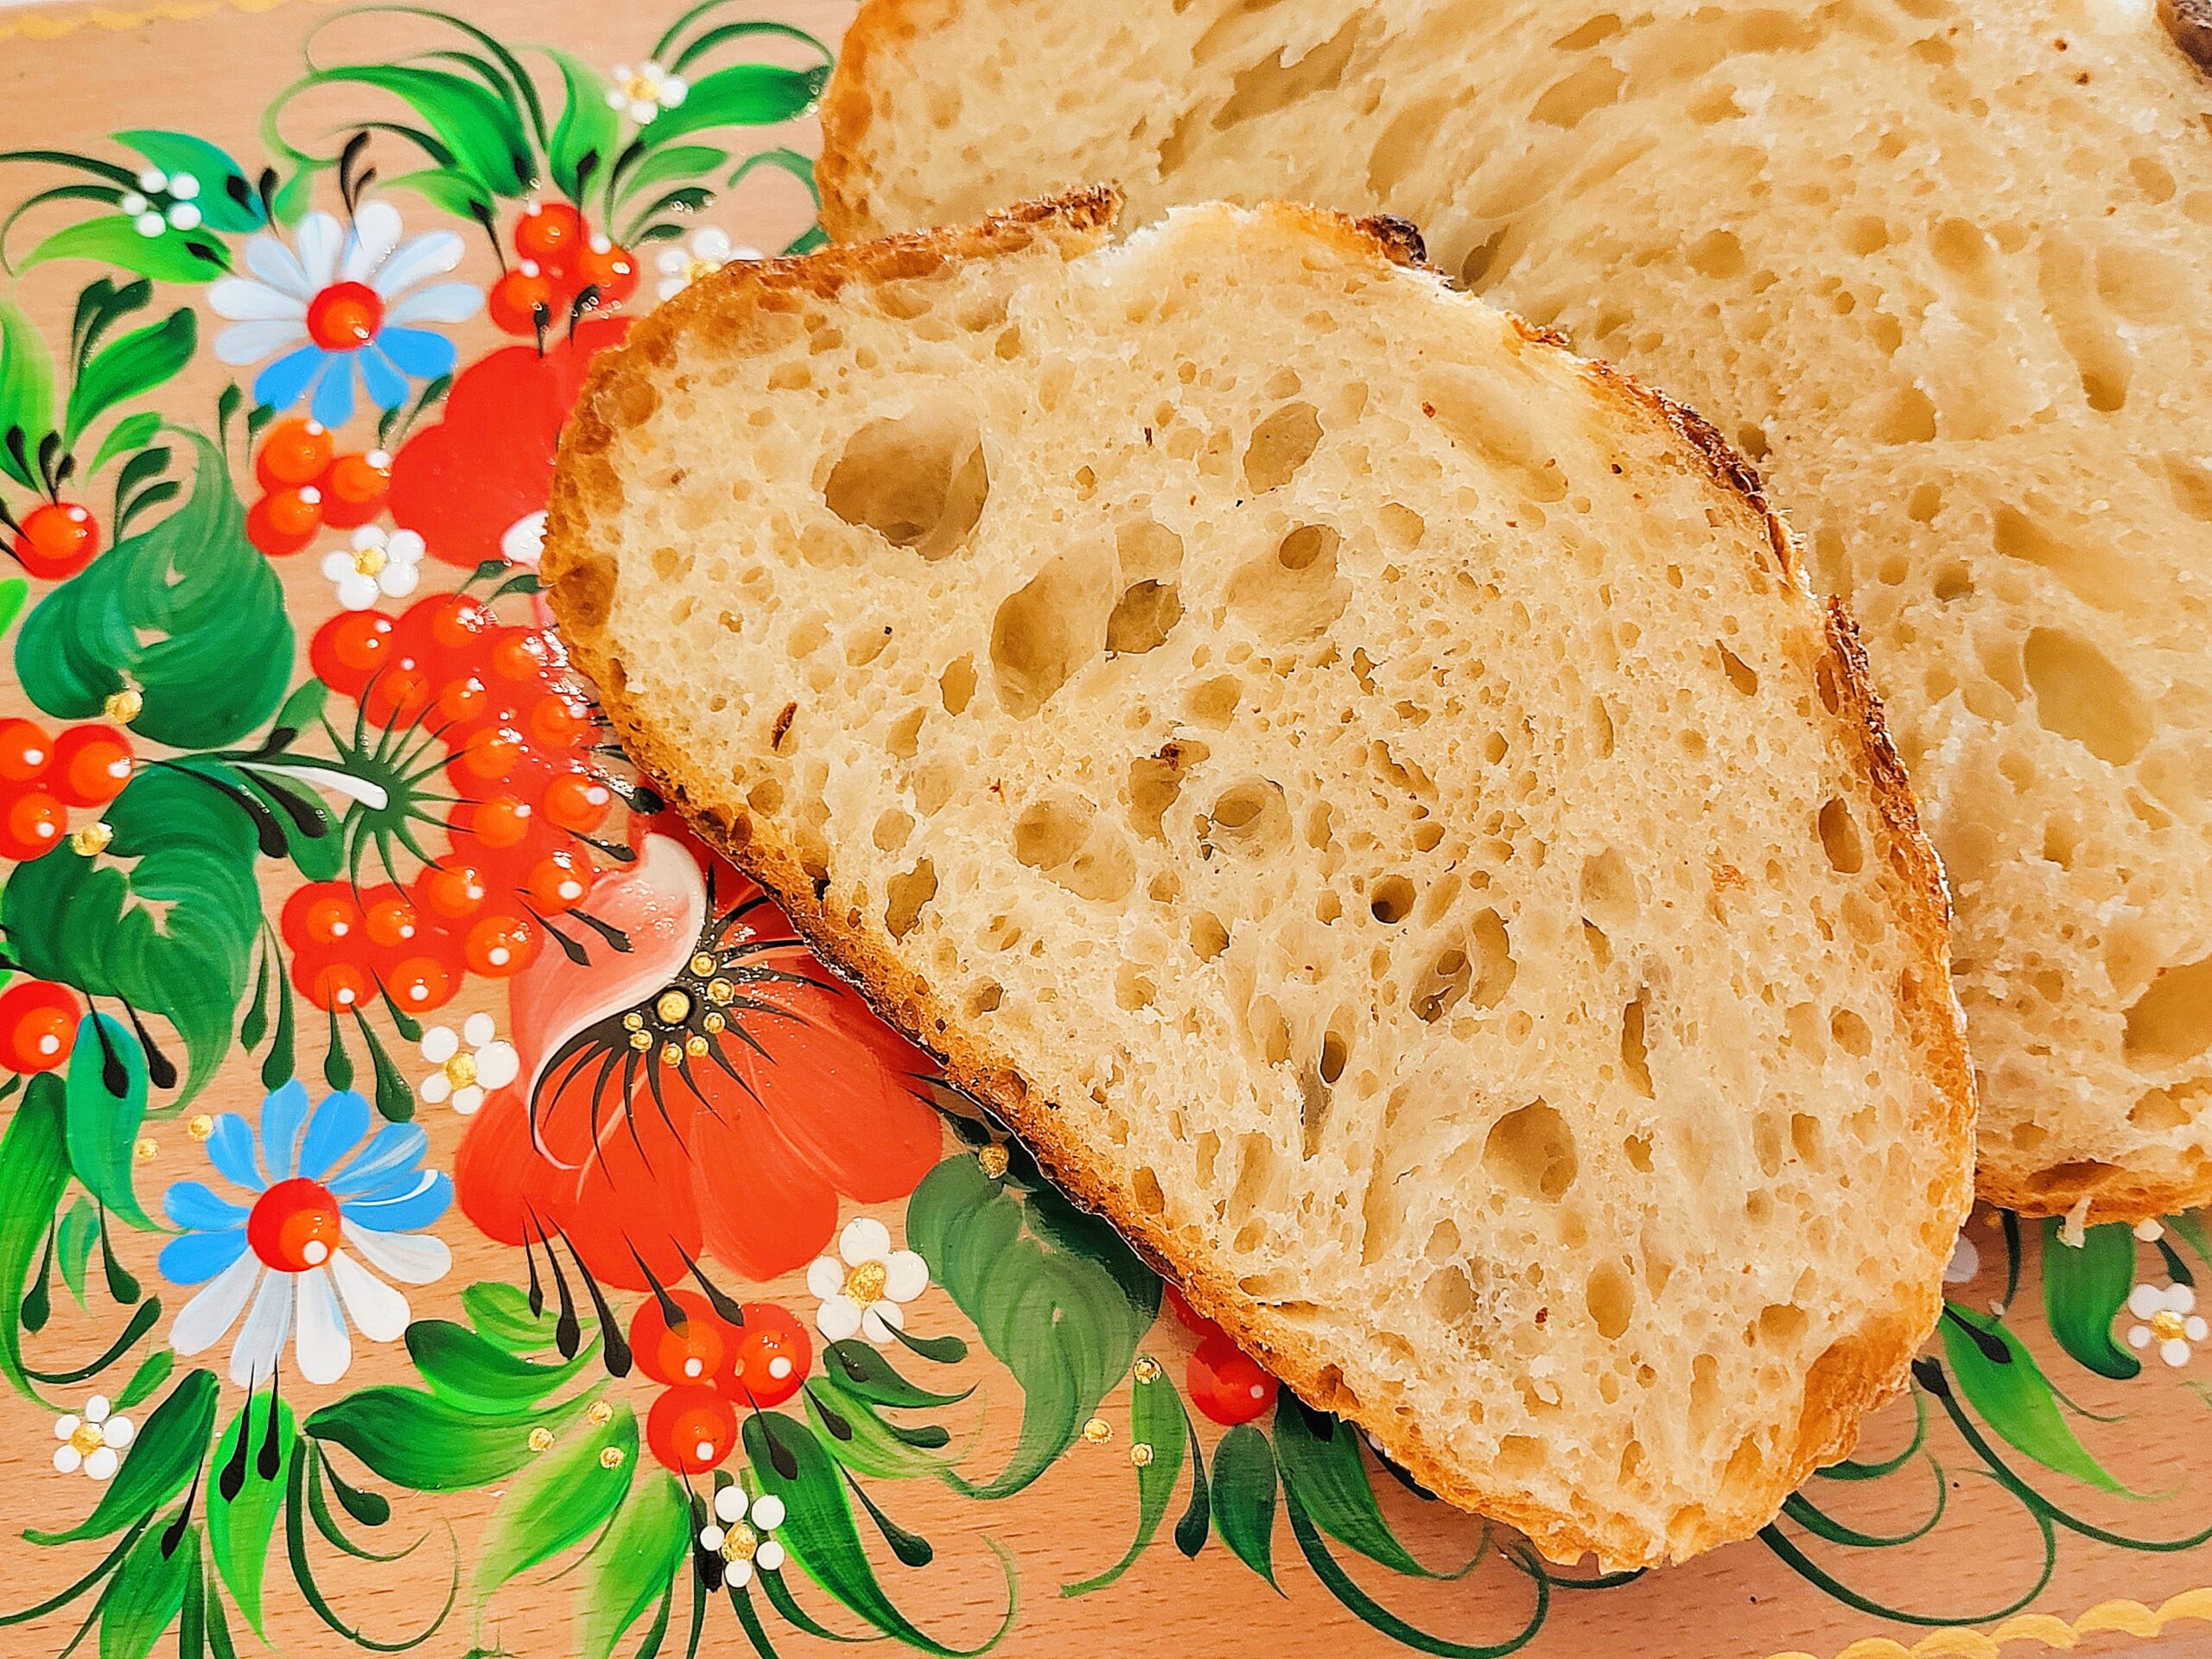
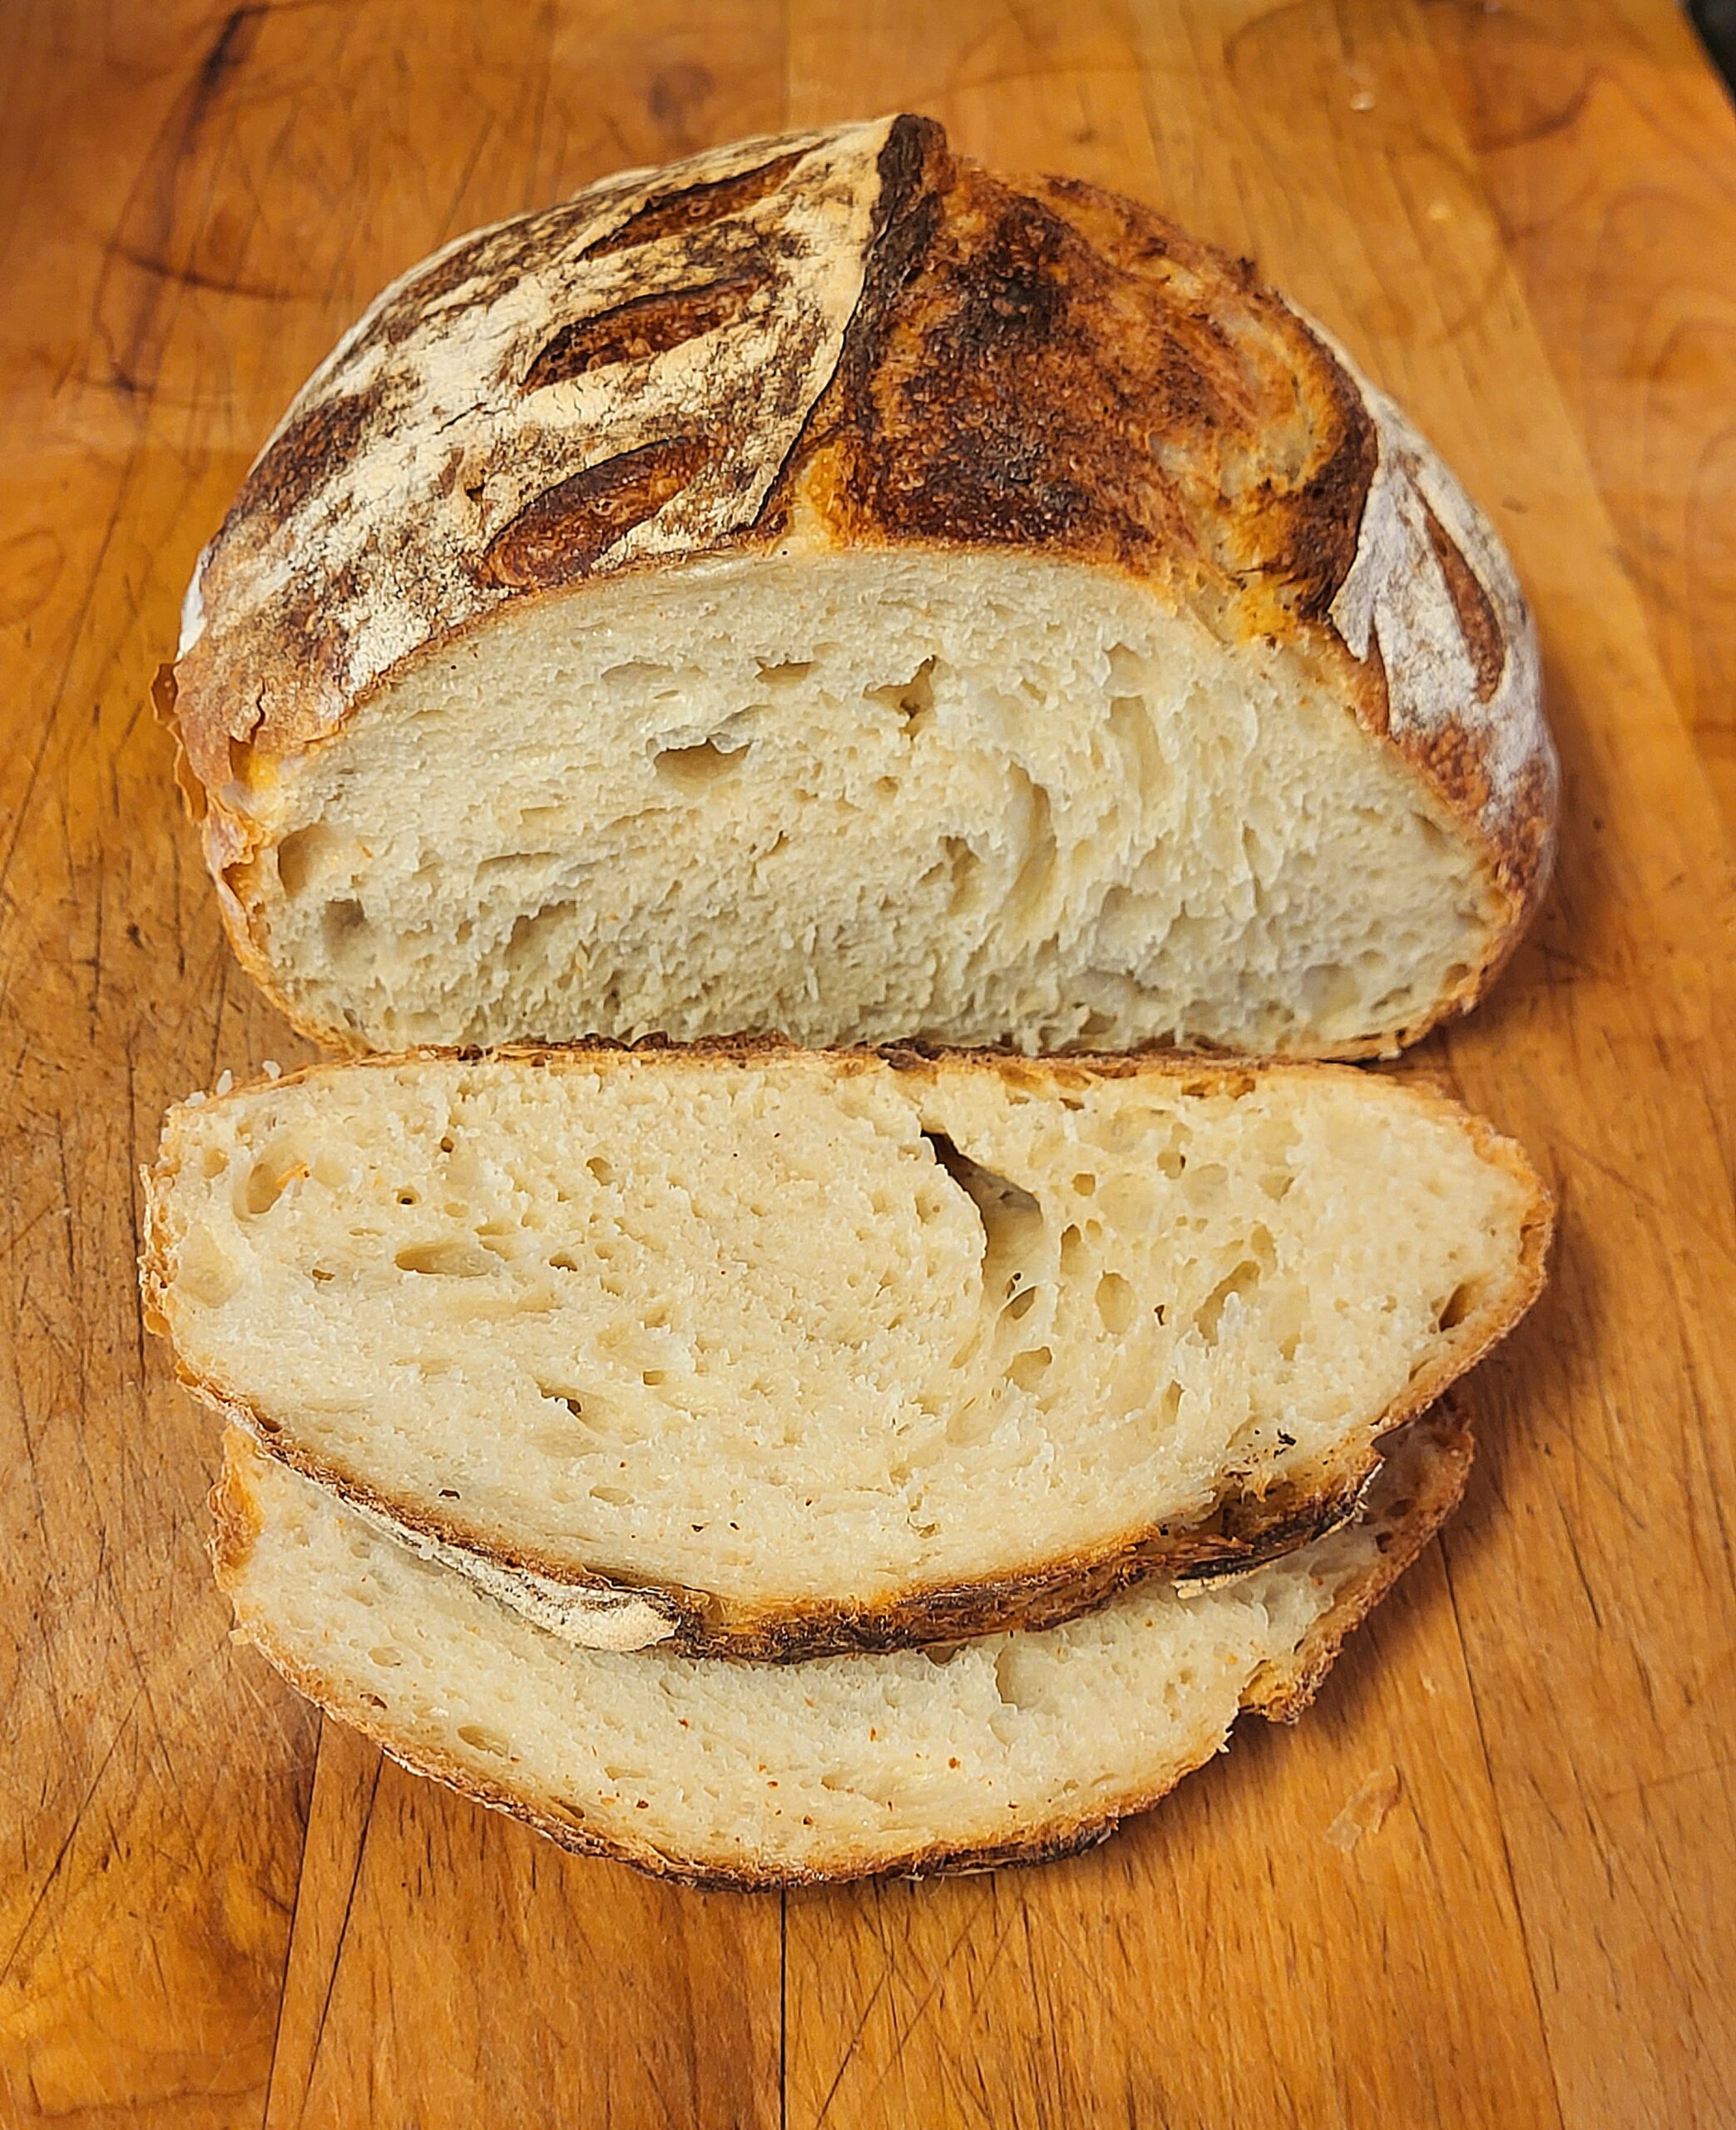
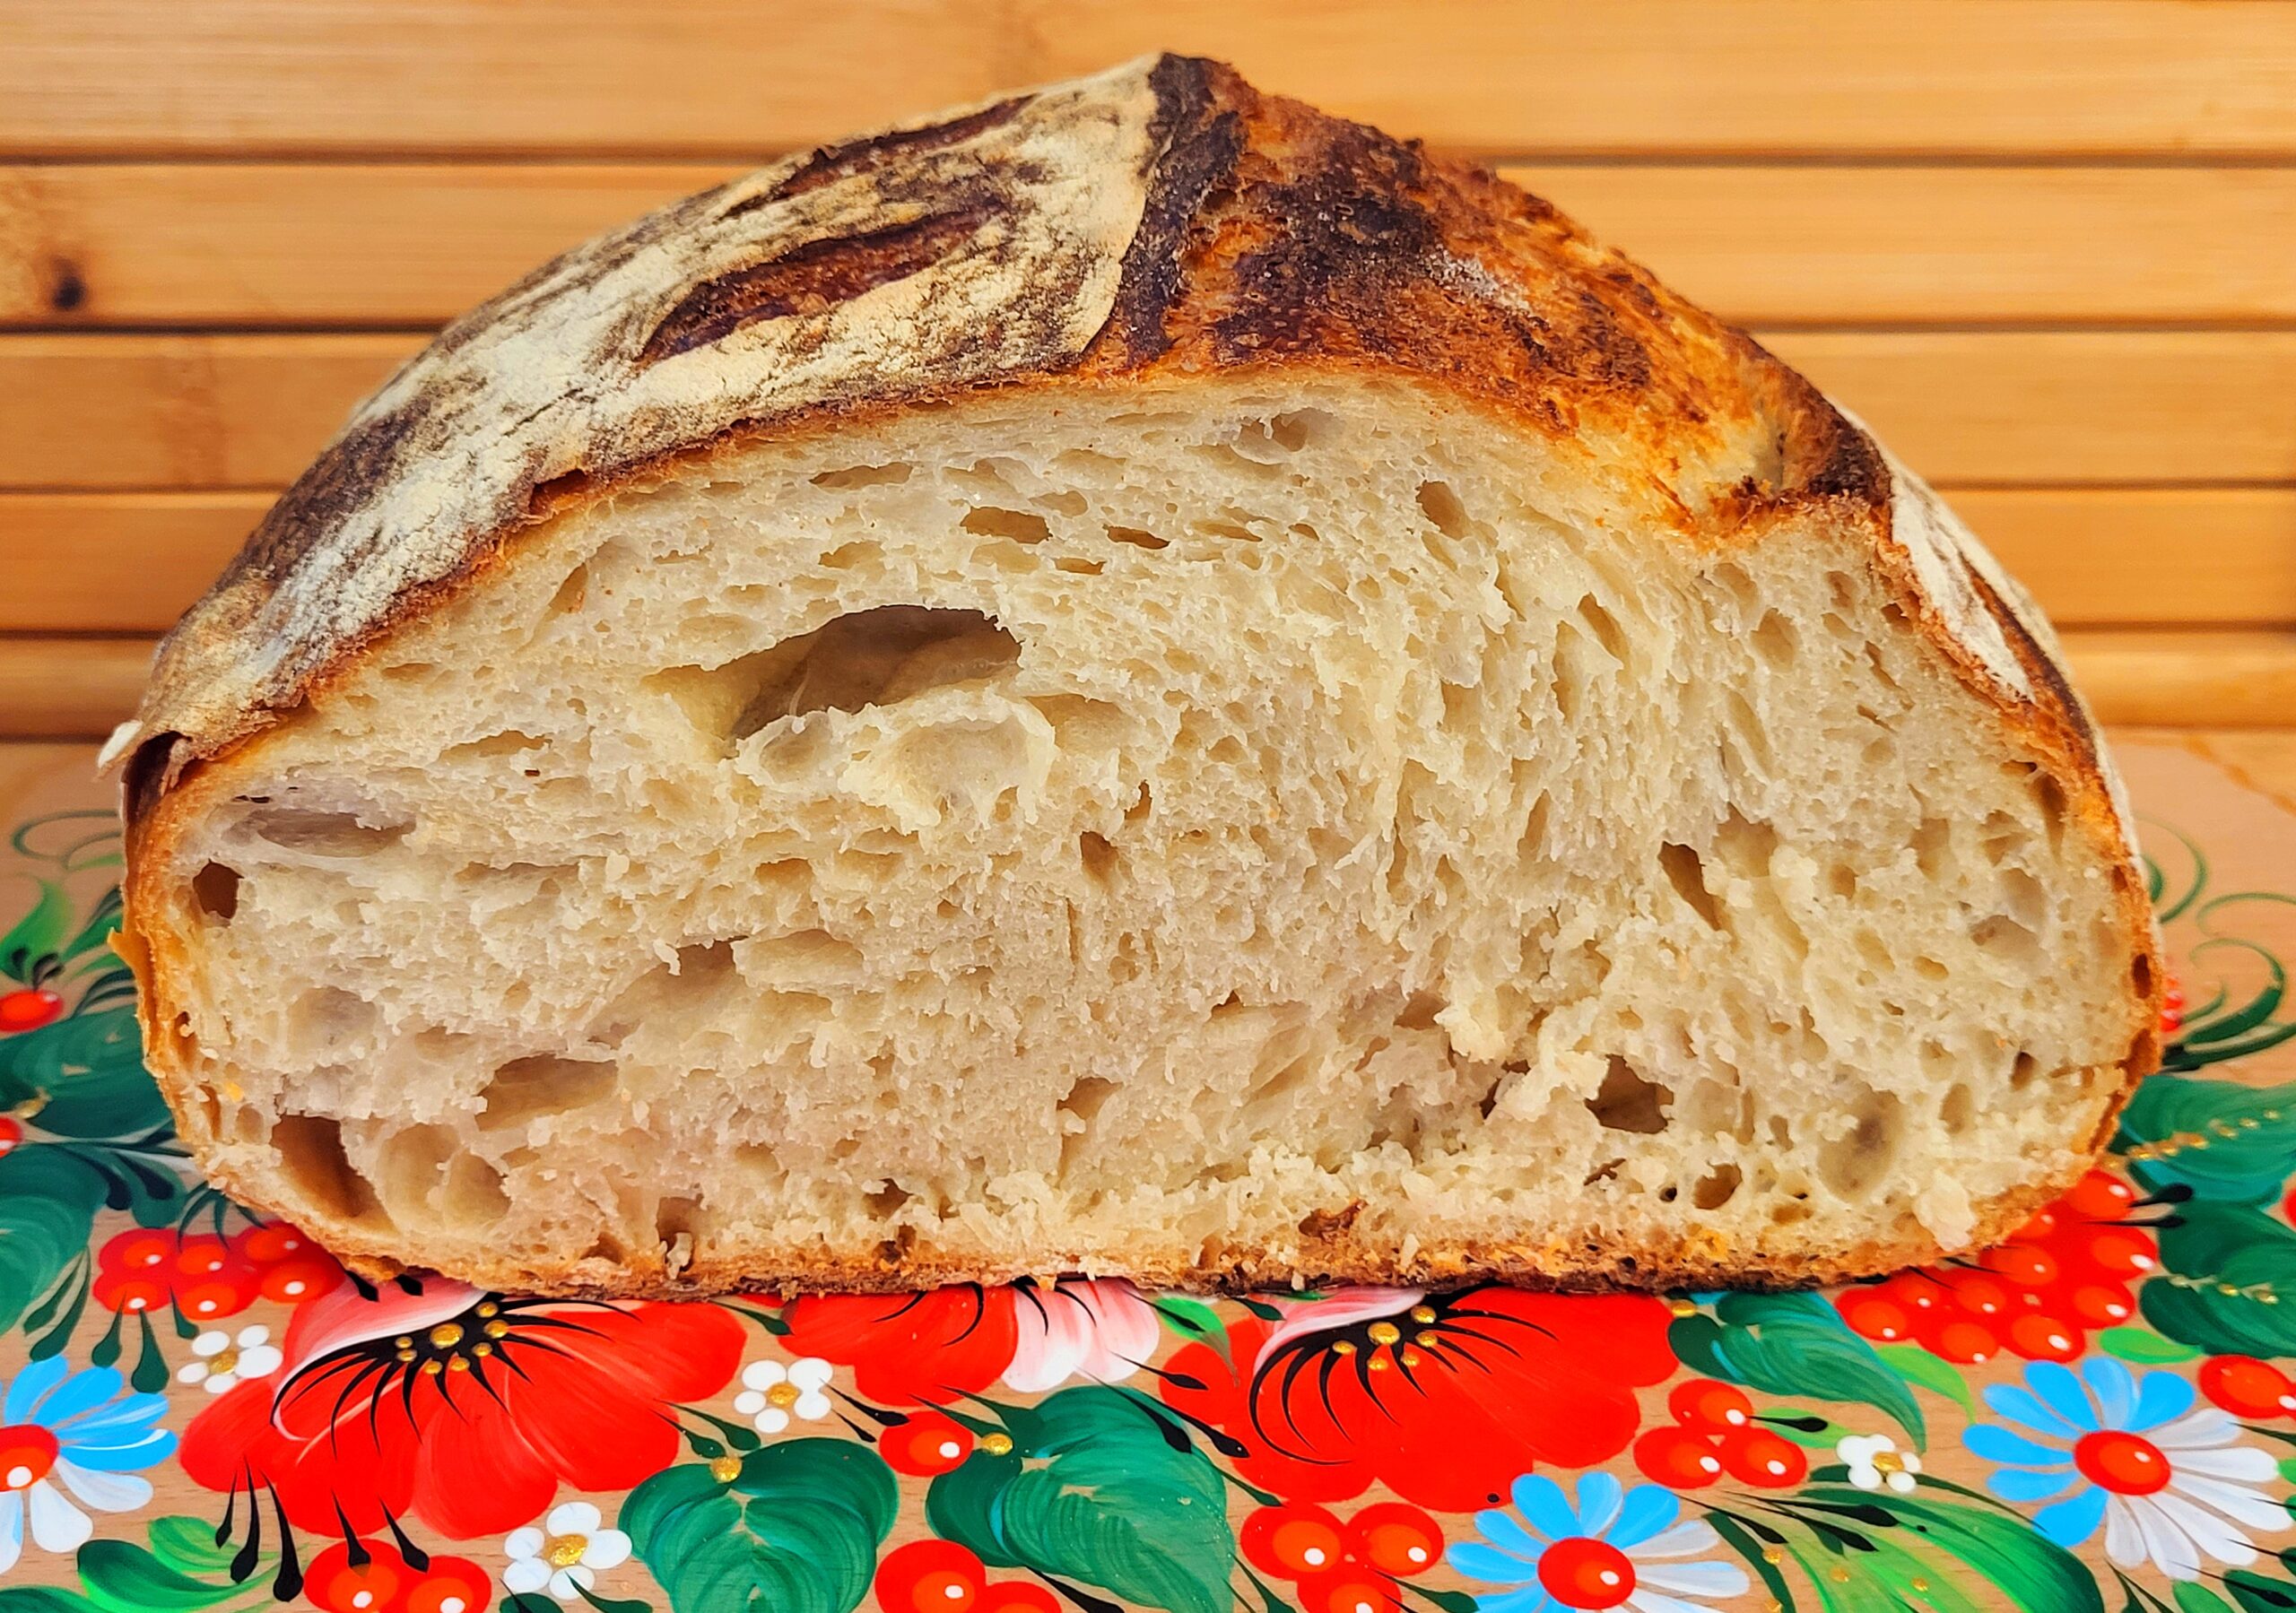
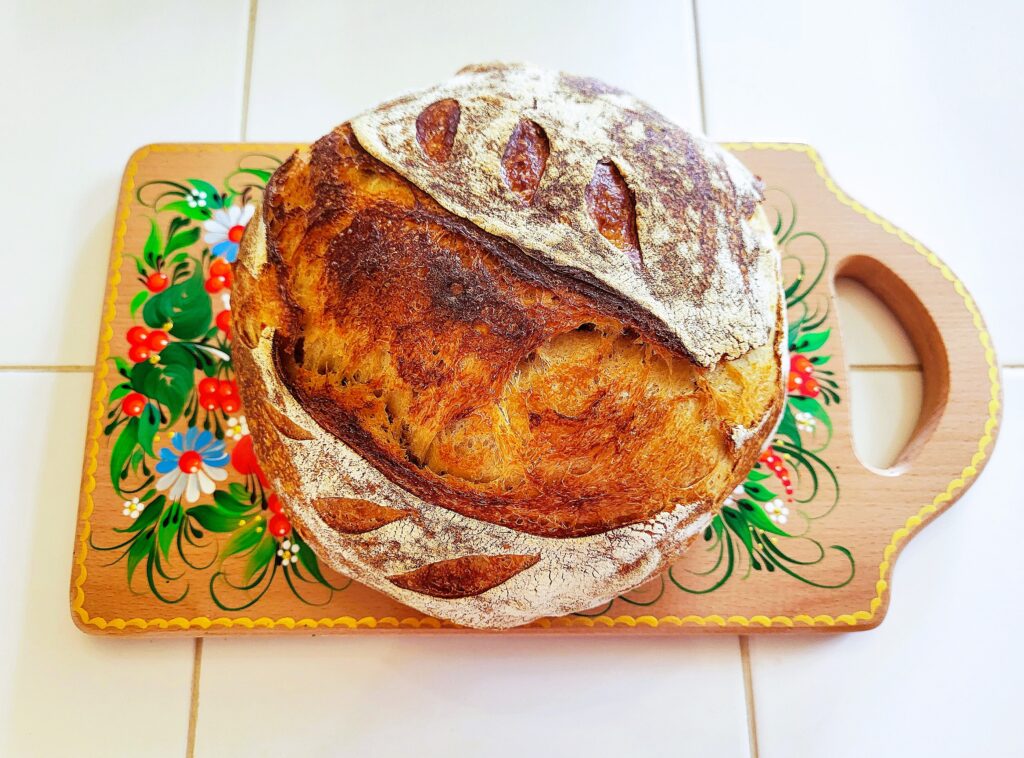
Sourdough Bread
Ingredients
- 310 Grams (~1 1/3 Cup) Non-Chlorinated Water Warm (90 degrees)
- 120 Grams (~1/2 Cup) Active Sourdough Starter
- 500 Grams (~4 Cups Plus 2 Tablespoons) Bread Flour
- 16 Grams (~2 Teaspoons) Fine Sea Salt
Instructions
Day -1 – Evening:
- If you starter is in the fridge, remove it and let it come to room temperature overnight.
Day 0 – Morning:
- Perform a large feeding; make sure your starter is sufficiently active.
Day 1 – Morning:
- Feed the starter: Perform another large feeding. Wait 12 hours.
Day 1 – Evening
- Note: For best results, weigh your ingredients. Measuring cup/spoon measurements are approximate and for reference only.
- Make the dough: In a large glass bowl, combine warm water and sourdough starter. Whisk together. In a separate bowl, mix together flour and salt. Add dry ingredients to wet ingredients. Using your hands or a wooden spoon stir together until you have a shaggy dough. No need to completely incorporate all the flour.
- Autolyse: Cover the bowl with a damp kitchen towel or Saran wrap. Incubate 1 hour at room temperature.
- Stretch and Fold: Fill a small bowl with water to wet your fingers with (this will help prevent the dough from sticking to your hands.) With moistened fingers, lift the top edge of the dough up and fold over onto the bottom half. Press down slightly to seal. Turn the bowl 90 degrees and repeat for a total of 4 stretch and folds. Cover the bowl and let sit for 20 minutes.
- Repeat this process at least one more time, or for better results, three more times. More stretch and fold sessions gives you a chewier loaf.
- Bulk Rise: Shape your dough into a ball and place in a large, clean bowl. Make sure your towel is still sufficiently damp and recover the bowl. Let rise until slightly puffed.
- The time of the bulk rise will depend on the room temperature. At 68 to 70 degrees this will take 10 to 12 hours. The time will be much shorter, about 6 hours, in the summer.
Day 2 – Morning:
- Test if the dough has risen enough: Dip your finger in water and press into the dough slightly. If it mostly springs back and the dough seems soft, but still firm and pliable, you are ready to go. If the dough still feels too dense and does not bounce back, continue the bulk rise, testing again in another hour. If the dough is deflated or very soft, you have over-proofed. You can still bake, but the loaf will be flatter.
- Stretch, Fold and Shape: Moisten fingers in water and pull up on one side of the dough about 1 to 2 feet above the counter. Drape the dough over your hand, folding it in half, and place on your work surface. Dust the top of the dough with flour and flip over. Pull the edges of the dough to the center and pinch together to seal, like you are bundling up a sack. Do not flour the seam.
- Flip the dough over so the seam is down. With the dough towards the top of your work surface, cup your hands around the dough and gently pull towards yourself while rotating the ball slightly. This is to tighten up your dough ball. Continue to shape the dough this way until you have a nice ball. Lightly flour your hands as needed so that they don’t stick. When finished, lightly flour the ball.
- Line a smaller bowl (or a banneton) with a smooth cotton dish towel. Generously dust with flour so that the dough will not stick. Carefully place the dough ball, seam side up, into the prepared bowl.
- For immediate baking: Cover and let rise at room temperature for 30 minutes, then place in the refrigerator for 1 hour while you preheat the oven.
- For a slow-rise, aged bake: Cover with the towel and wrap the bowl in plastic wrap. Place in the refrigerator for up to 36 hours. Remove from the refrigerator for 1 hour while the oven preheats. (This option gives a more sour, deeper flavor to your bread.)
- Preheat the oven: Place a large cast-iron Dutch oven (6 quart) with its lid on in the oven and preheat to 500 degrees for 1 hour.
- Bake: Uncover the loaf and lightly flour the ball (seam side). Place a large piece of parchment paper on top of the bowl, leaving plenty of overhang to use as handles to transfer to your very hot Dutch oven. Carefully invert the bowl onto your work surface. Remove the bowl and towel.
- Using a sharp paring knife, razor blade or bread lame, lightly cut a 1/4-inch deep design of your choice into the top of the loaf. This allows the steam to escape in predictable places and not burst the loaf in random spots.
- Make sure you have two trivets in place, then remove the Dutch oven and place on one trivet (don’t burn your counter top!) Remove the lid (it goes on the second trivet) and use the ends of the parchment paper to lift the loaf into the pot. Quickly replace the lid, pressing down slightly to seal (it is fine that the paper is sticking out.)
- Bake covered for 20 minutes. Then reduce the heat to 450 degrees and remove the lid. Bake another 20 minutes more or until the internal temperature of the bread is 205 to 208 degrees.
- Remove the bread to a wire rack using the parchment paper handles (paper will be brittle) and a spatula. Cool for 1 hour before slicing into the bread. If you try to slice into the bread too early, it will be gummy.
- When completely cool, store in a bread bag and use within a couple of days.
2023 Adapted Recipe – April Ferre – Adapted from Preppy Kitchen