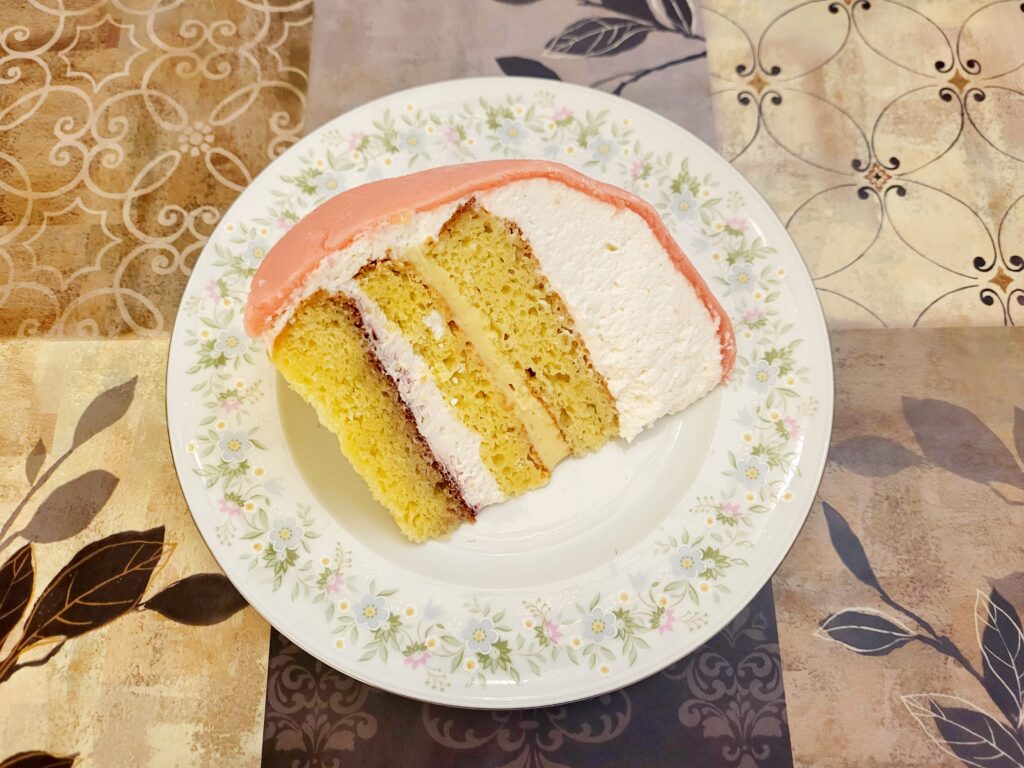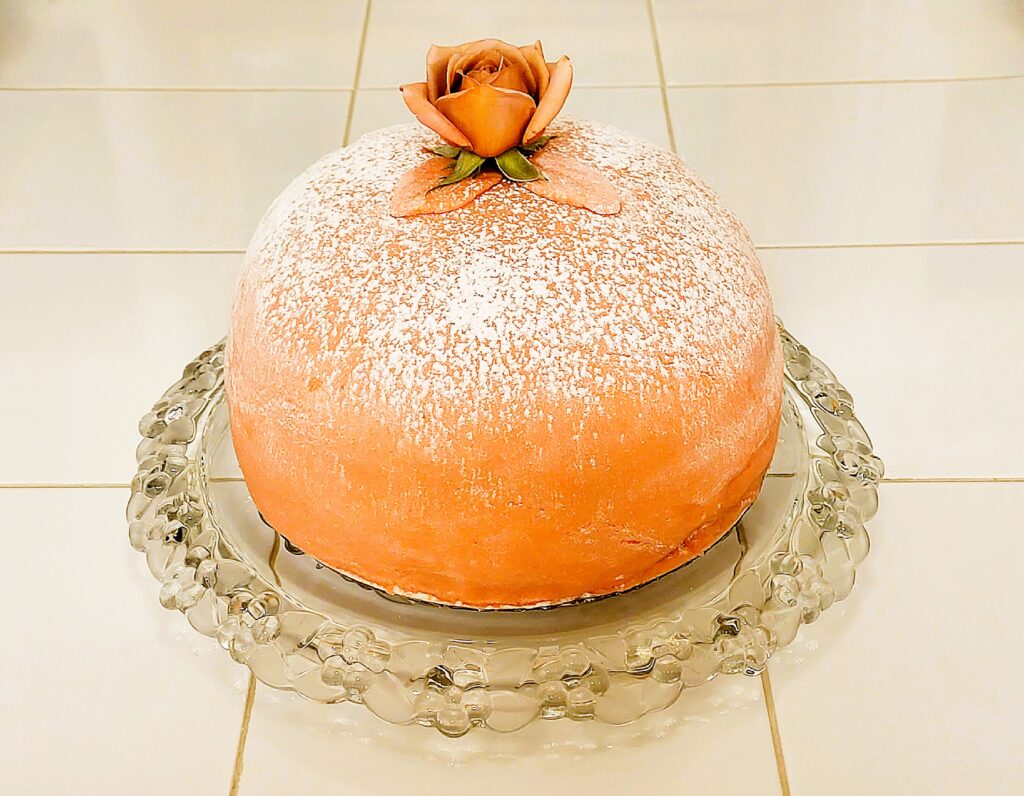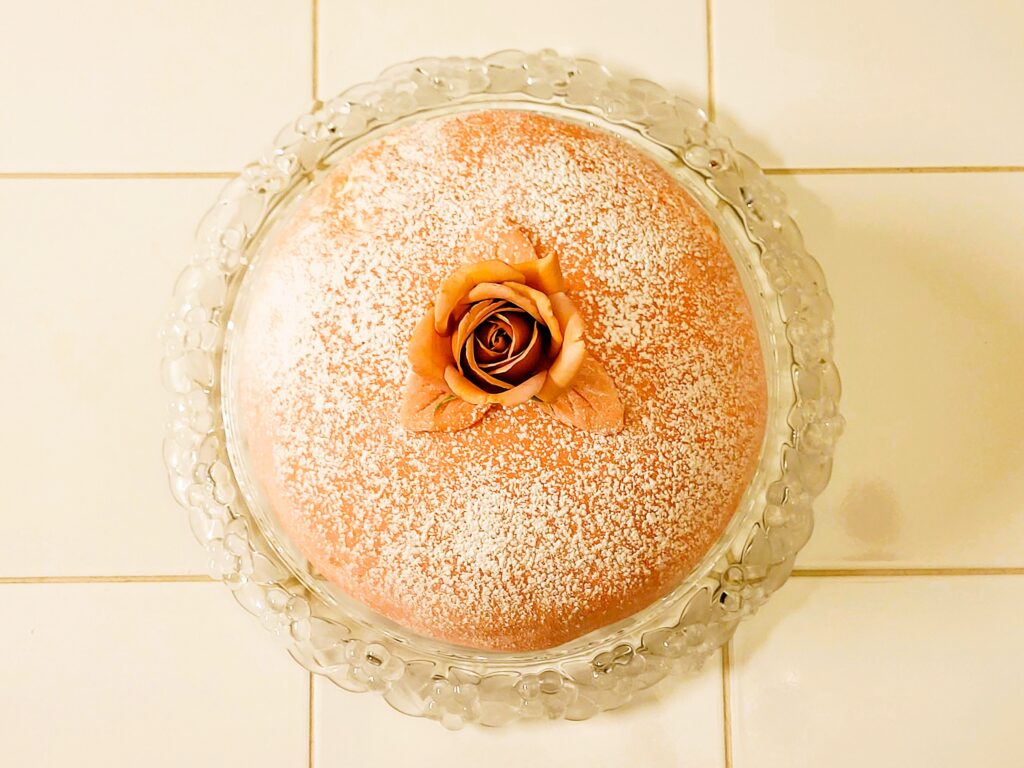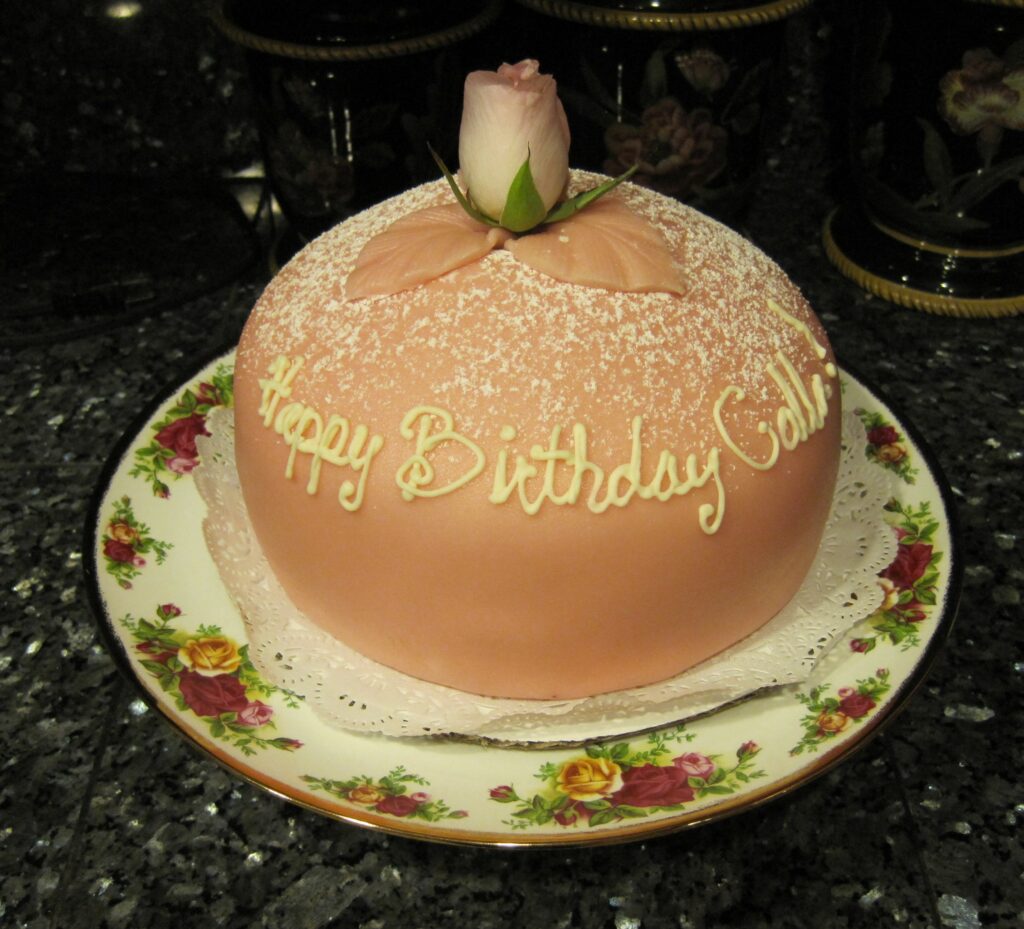
“On the first year after being married, my husband went to the bakery to get me a birthday cake. When he saw the name ‘Princess’ cake he had to get it because he always calls me ‘Princess’. After tasting the cake, I had to have every year afterwards. When the Old Theater Cafe in downtown Santa Cruz closed, suddenly he had to find another bakery that made the Princess cake. Luckily he found Gayle’s, which is where this recipe comes from. Though none of us have actually made this ourselves, we made sure we put the recipe in the cookbook, just in case we needed it someday.” – Calla Ferre
“In 2023 I finally attempted to make the Princess cake! This has been on my baker’s bucket list forever, and I’m glad to say it was mostly successful! The trickiest part actually seems to be making the sponge cake. Surprisingly, getting the marzipan over the cake was not as difficult as I imagined it to be, though it did tear some. But with some patience, you can gently patch the marzipan and the powdered sugar will disguise any small holes where the whipped cream might show through. It is a lot of work, but there is a great sense of accomplishment once it is finished and you are sure to impress anyone you make this for.” – April Ferre
Princess Cake
Ingredients
- 1 Vanilla Genoise Layer Cake
- 1 Recipe Marzipan
- 1 to 1 1/2 Cup Pastry Cream
- 1 Recipe Soaking Solution
- 3 Cups Heavy Whipping Cream
- 3 Tablespoons Sugar
- 1 Tablespoon Vanilla
- 1/3 Cup Raspberry Jam
- 1 Fresh Organic Pink or White Rose
Instructions
- The night before, prepare soaking solution, pastry cream and marzipan. Bring the marzipan to room temperature at least 1 hour before assembling the cake.
- The Vanilla Genoise Layer Cake can be made the night before, but it dries out quickly. For best results, bake the cake the day of assembly.
Soaking Solution:
- This can be multiplied in any amount and kept on hand if you do a lot of cake baking. It makes a little too much for a 9-inch 3-layer cake, so do not feel as if you have to use it all.
- Soaking solution variations: Any liqueur that complements the flavors in the cake you are assembling can be substituted for the rum. Or, if you prefer, omit the liqueur entirely.
Whipped Cream Preparation:
- In the prechilled bowl of a tabletop mixer fitted with a prechilled wire whisk attachment, whip the whipping cream, 3 tablespoons sugar and vanilla just until fairly stiff.
- Use as recipe directs or cover with plastic wrap and refrigerate until ready to use.
Cake Preparation:
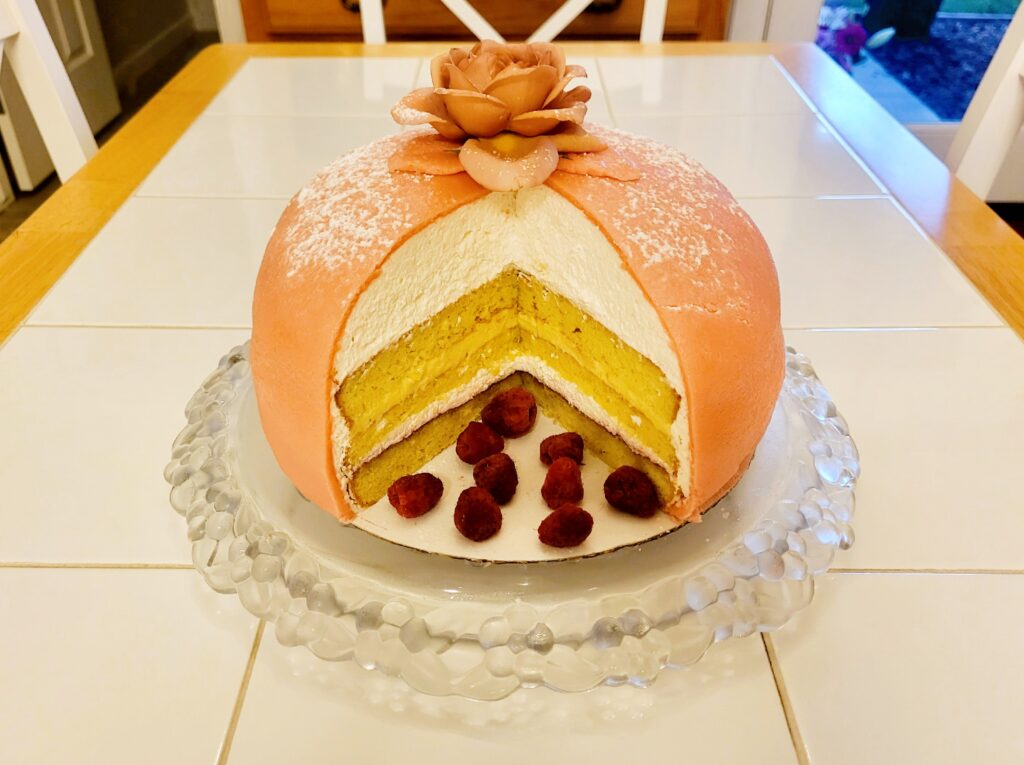
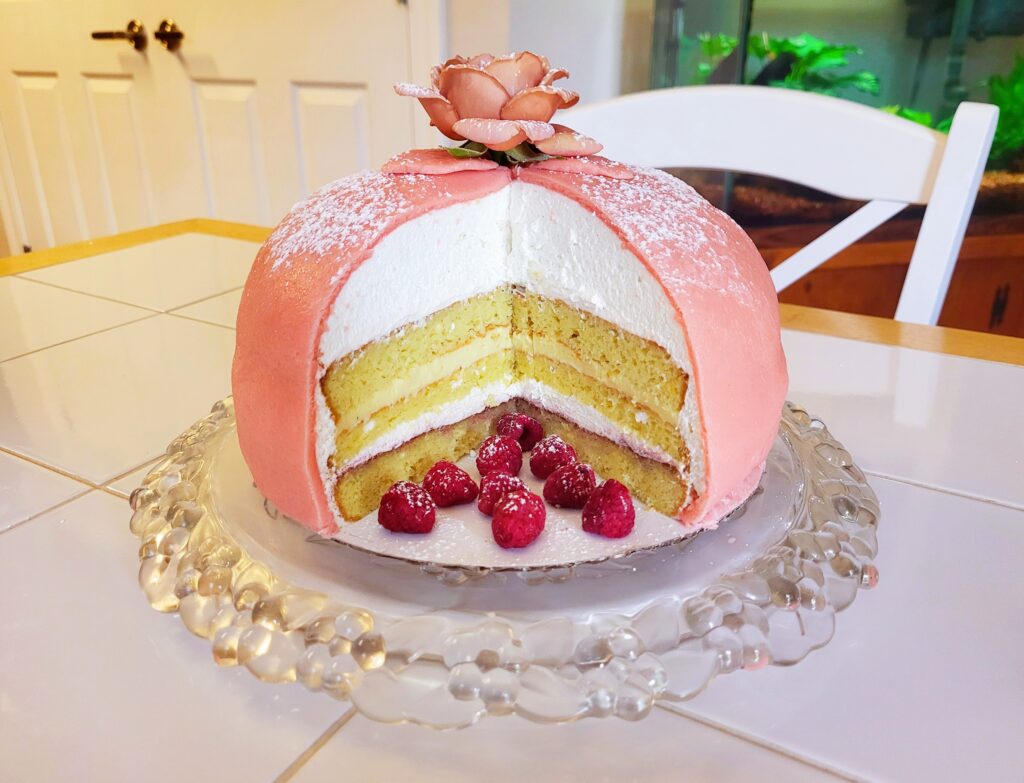
- Using a long, serrated knife, level the vanilla genoise, then cut it into 3 even layers. Place the top of the cake cut-side down on a 9-inch cake cardboard. Brush it lightly with soaking solution, being careful not to oversoak it.
- Spread the cake with a thin layer of raspberry jam. You should almost be able to see through it. Spread a 1/4-inch thick layer of the whipped cream over the raspberry jam.
- Set the middle layer of the cake on the whipped cream. Brush it with soaking solution and then spread it with a 3/8-inch layer of the pastry cream or more if desired.
- Place the remaining cake layer cut-side down on top of the pastry cream. Brush it with soaking solution.
- Using a metal icing spatula, skim coat the sides of the cake, icing them with a 1/8-inch thick coat of whipped cream. There should be just enough whipped cream to seal in all the crumbs and prevent the marzipan from resting directly on the cake.
- Mound all the remaining whipped cream on the top of the cake and, using a metal icing spatula, spread into a dome so that the cake almost looks like an upside-down bowl.
- Soften the edge where the top of the genoise ends and the dome begins by beveling it with the flat part of the spatula.
Marzipan Preparation:
- Lightly dust a work surface with confectioner's sugar. Place the marzipan on the surface and, using an 18-inch wide rolling pin, roll out the marzipan as you would roll out pie dough into a 16-inch circle, 1/8-inch thick.
- Frequently dust the marzipan with plenty of confectioner's sugar and turn the circle to make sure the marzipan is not sticking to the work surface. Using your hand, brush off the excess confectioner's sugar. Don't worry if a lot of confectioner's sugar clings to the marzipan; it will be absorbed.
- First time making a princess cake? Before attempting to cover a cake with marzipan for the first time, practice covering an inverted 8- or 9-inch bowl. Once you are comfortable with this technique, gather up the marzipan, knead it into a ball, and re-roll to cover the cake.
- Set the cake near the rolled out marzipan about 6 inches away from the edge of the work surface so that you can see and reach around the entire cake. Loosely roll the marzipan onto the rolling pin, starting at the back and rolling toward you.
- Lift the rolling pin with the marzipan wrapped around it. Unroll the marzipan over the cake, starting at the front and unrolling toward the back while making sure to cover the entire cake and cardboard. When finished, some marzipan should drape onto the work surface all around the cake.
- At this point, the dome of the cake will be smoothly covered but there will be folds or creases on the sides. To remove the folds and creases, lift the outside edge of the marzipan with one hand on either side of a fold and, without tearing or stretching, gently pull the marzipan out and down until the fold disappears.
- Work your way around the cake. Once all the folds are eliminated, rub the palm of your hand around the side of the cake to further smooth it and eliminate air pockets.
- With a rolling pizza cutter or small, sharp knife, carefully cut off the excess marzipan along the bottom edge of the cake cardboard. The cardboard should not show.
- Slide the icing spatula under the cake cardboard and tilt the cake up enough to get the palm of your hand underneath to lift it without touching the sides. Turn the cake, checking to make sure the cake and cardboard are completely covered with marzipan. If not, gently push the marzipan down using the palm of your other hand.
Finishing the Cake:
- Set the cake down and sift a fine dusting of confectioner’s sugar over it. Transfer to a serving platter.
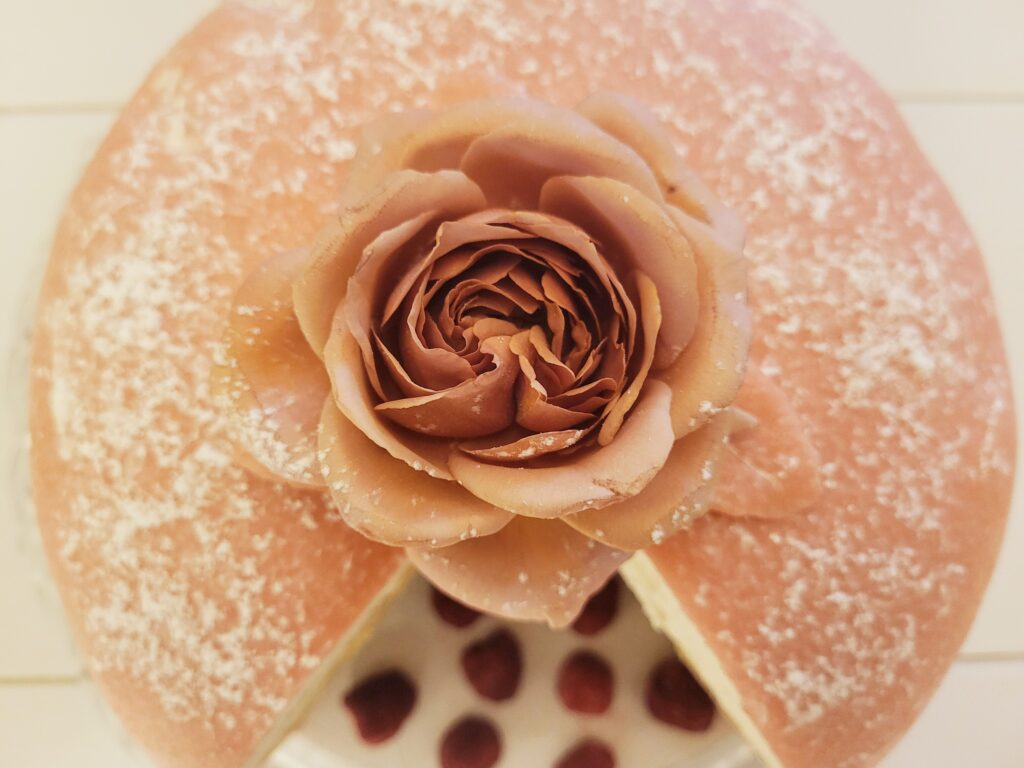
- Cut 3 elongated ovals about 3-inches long by 1-inch wide out of the remaining marzipan to make 3 rose leaf shapes. Lightly score the tops of the leaves with a knife to create veins. Gently bend each leaf into a leaf-like curve.
- Place the leaves, spaced evenly apart, on the center of the domed cake top with the stem ends touching. Gently press the stem ends into the dome to secure the leaves to the top of the cake.
- Cut the rose stem 2 inches below the flower. Lift the sepals so they will set over the marzipan leaves and insert the rose into the center of the dome.
- The cake may be stored in the refrigerator for up to 2 days, but it is best the day it is made. Remove the cake from the refrigerator 30 minutes before serving.
Recipe – Calla Ferre – The Village Baker’s Wife: The Desserts And Pastries That Made Gayle’s Famous, 1997. – Gayle’s Bakery
