“Mozzarella was first made by the monks of San Lorenzo di Capua, Italy, from sheep’s milk. In the 16th century, when water buffalo were introduced to Naples, the rich milk of those animals started to be used. For a party treat, slice the mozzarella and arrange it alternately with ripe tomato slices. Then drizzle with fresh pesto, scatter with sun-dried tomatoes, and top with a smattering of pine nuts. Serve with crusty bread and wine. Heaven!” (Home Cheese Making by Ricki Carroll.)
“My Mom and I made our first Mozzarella in December of 2009. It’s a bit tricky, and we can still use some practice. But still came out pretty good and we enjoyed both it and the experience! We used the microwave method, but I think next time I would go the traditional route for a little better flavor and texture.” – April Ferre
Mozzarella
Ingredients
- 1 Gallon Whole Milk
- 1 1/4 Teaspoon Citric Acid
- 1/8 to 1/4 Teaspoon Lipase Powder Optional
- Cool Unchlorinated Water
- 1/4 Teaspoon Liquid Liquid Rennet
- -Or 1/4 Rennet Tablet
- 1 Teaspoon Cheese Salt
- -Or 1/2 Cup Kosher Salt
Instructions
- If using lipase powder, dissolve in 1/4 cup water and allow to sit for 20 minutes. (For a stronger flavor.)
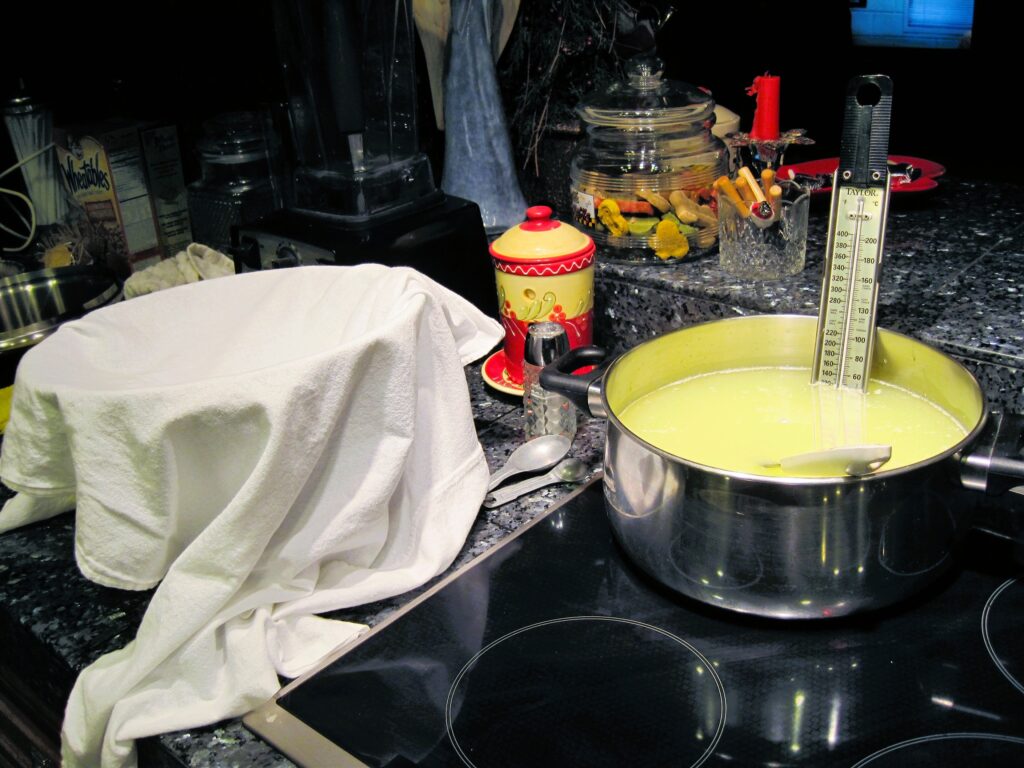
- Dissolve citric acid in 1/2 cup water. While stirring add the citric acid solution and heat the milk to 91 degrees and mix thoroughly. If using lipase, add now. Let ripen, covered, for 1 hour. Maintain constant temperature.
- Note: Make sure the milk you use is not “ultra” pasteurized. The protein is damaged in the process and will leave you with ricotta rather than mozzarella. You may use skin milk, but the yield will be lower and the cheese will be drier.
- If you add lipase to this cheese, you may have to use a bit more rennet, as lipase makes the cheese softer. Try the recipe without it first and experiment later.
- Acidity is important for the final texture of the cheese. It is what allows the mozzarella to stretch, too little or too much acidity and you will not be able to work the curds properly. Only use citric acid, ascorbic acid, though it may seem the same, will not work. Find citric acid from cheese making supplier, health food store, wine making supplier, or pharmacy.
- Dilute rennet in 1/4 cup water. Stir in the diluted rennet with an up-and-down motion for about 30 seconds. Cover the pot and leave undisturbed for 15 minutes.
- Check the curd for a clean break by sticking a knife in at an angle and pulling straight out. If the curd breaks cleanly around the knife and the whey runs into the crack that is made, you have a clean break. If the curd is too soft or the whey is too milky, let set for a few minutes more.
- Cut the curds into 1/4- to 1/2-inch pieces. Use a long knife, held vertically, and cut 1/4- to 1/2-inch slices in the curds. Then turn the pot 90 degrees and cut slices across the other direction, making a kind of checkerboard pattern. Now hold the knife sideways at a 45 degree angle and retrace your cuts. Turn it again and cut and then one final turn and cut. By the last turn, you probably won't be able to see the original cuts, but just do the best you can. Do not stir yet.
- Let curds rest, 10 minutes for goat milk or 5 minutes for cow milk. The curds are delicate after you cut them and they need to harden up a little bit. Cut any large curds you missed the first time or that have congealed back together.
- Place the pot back on the stove, cover, and heat the curds to 90 to 91 degrees for 1 hour. Stir occasionally during the first half hour, gently moving the curds around with your spoon. After the first half hour, just let the curd settle on the bottom of the pot where it will start to mat together.
- Note: Cooking at a higher temperature will result in a cheese with less moisture and more rubbery. It will also result in a lower yield. The higher the moisture of the cheese the more cheese out of the same amount of milk.
- Place colander lined with cheesecloth over a pot to catch the whey and pour curds into colander. Press the curds gently with your hands, pouring off as much whey as possible. Reserve the whey for making Ricotta, if desired. If using the microwave, see directions below. Otherwise, hang curds in cheese cloth to drain for 3 to 4 hours.
- Remove curd from cheesecloth and test the curd to see if it is ready to be worked. Cut off a small piece and put it in some hot water (170 degrees). Keep feeling it and see if it begins to melt. Once it starts to melt, take it out and see if you can stretch it. If it stretches with no problem, you can go to the next step. If it breaks when you try to pull it, you have not developed enough elasticity and the curd needs to age in the fridge a bit longer, or maybe even until the next day.
- Work the curd, or if you want to wait until the next day, place it in a gallon Ziploc bag and put in the refrigerator.
- Heat a large pot of water to 170 degrees and add 1/2 cup Kosher salt. If working curd the same day and have also made Riccota, use hot whey instead of water. This makes the cheese even tastier and the curds work better as well.
- Cut the curd ball in half and work only 1/2 of the cheese at a time. Cut the curd into 1-inch cubes. Place in hot whey or water. Heat and stir for a moment with a slotted spoon or ladle.
- Squeeze the cubes with your fingers to test. When the cubes are soft throughout, go to the next step. But do not let curds heat too long or they will become too runny and your cheese will fail.
- Remove curds to large bowl. Careful, curds are hot! Curds may seem to be a horrible mess, but keep going. Gather them into one mass and fold one side over onto the other. Don’t squeeze the curd or all the cream will come out and the cheese will be dry. Work the curd gently and keep a bowl of cold water by to put your hands in when needed.
- Once it has come together so that it can be picked up. Hold one side of the curd and let the other begin to stretch under its own weight. Fold up the bottom to the top and stretch again. Keep stretching and folding, and start pulling it slightly as needed, like pulling taffy. You will be able to stretch the curd longer and longer and the nature of the curds will begin to change. It will start to become shiny, smooth and elastic. When you get to this point, place the cheese back in the warm water to heat it back up for a moment.
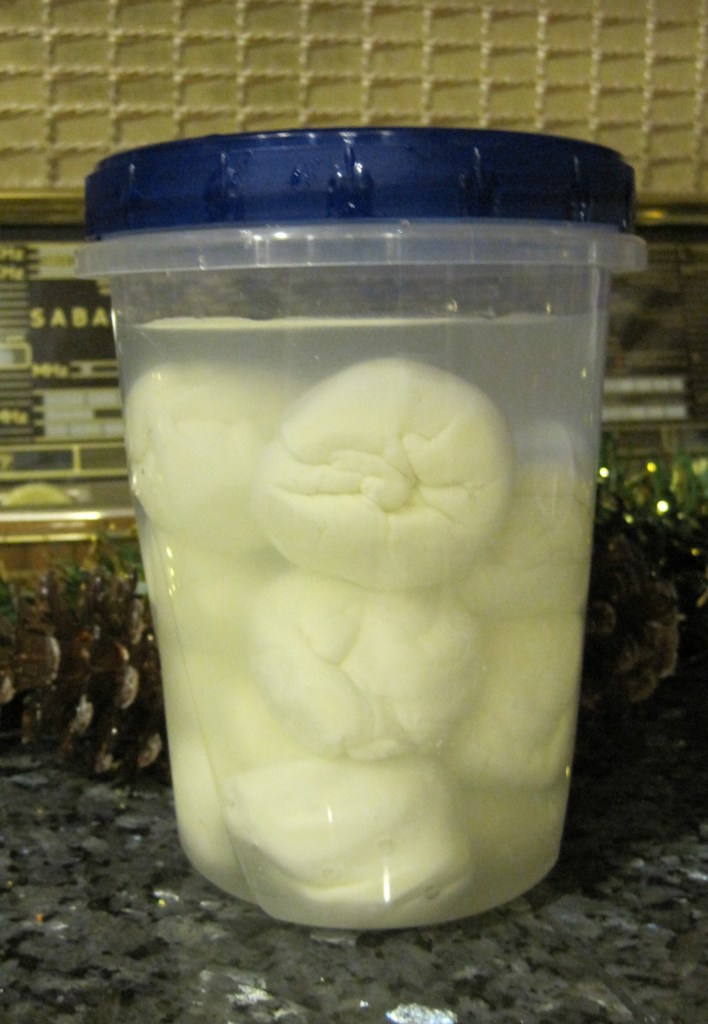
- Remove the cheese from the hot water and plop it in to a mold. Push the curd into the mold to even it up and let set in refrigerator overnight. Unmold the next day and store in Ziploc bag. Or form balls and place into cold water and store in refrigerator. Repeat process with other half of curd. The cheese is best if it sits a couple days.
Microwave Directions:
- Place curds in 2-quart microwavable bowl.
- Microwave the curds on high for 1 minute. Drain off all excess whey. Gently fold the cheese over and over, as in kneading bread, with your hand or a spoon. This distributes the heat evenly throughout the cheese, which will not stretch until it is too hot to touch, 145 degrees inside the curd.
- Microwave two more times for 35 seconds each; add salt to taste after the second time (optional.) After each heating, knead again to distribute the heat. Knead quickly until it is smooth and elastic. When the cheese stretches like taffy, it is done. If the curds break instead of stretch, they are too cool and need to be reheated.
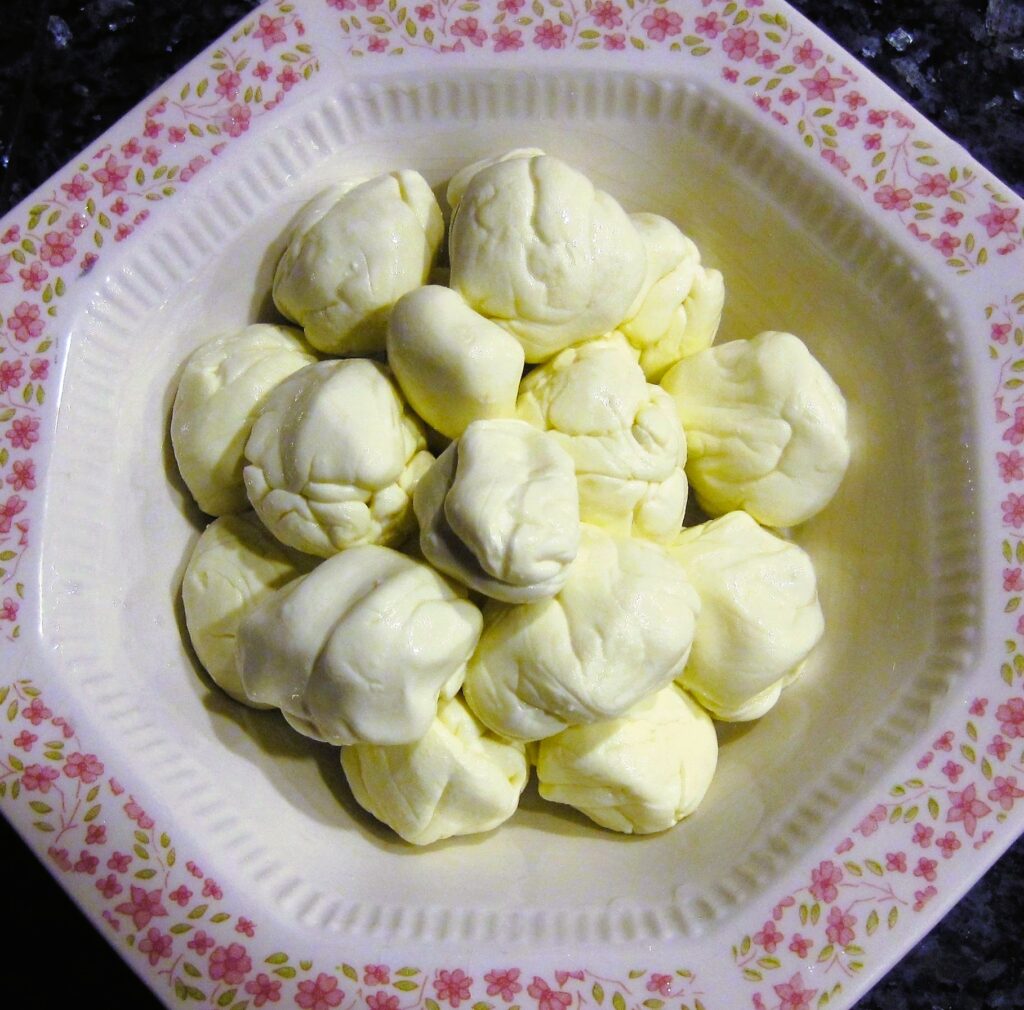
- When the cheese is smooth and shiny, roll into small balls and eat while warm. Or place them in a bowl of ice water for 1/2 hour to bring the inside temperature down rapidly; this will produce a consistent smooth texture throughout the cheese. Although best eaten fresh, if you must wait, cover and store in the refrigerator.
- Yields 3/4 to 1 Pound
Notes
2009 Recipe – Calla and April Ferre – From Home Cheese Making by Ricki Carroll, 2002 and Fiasco Farm